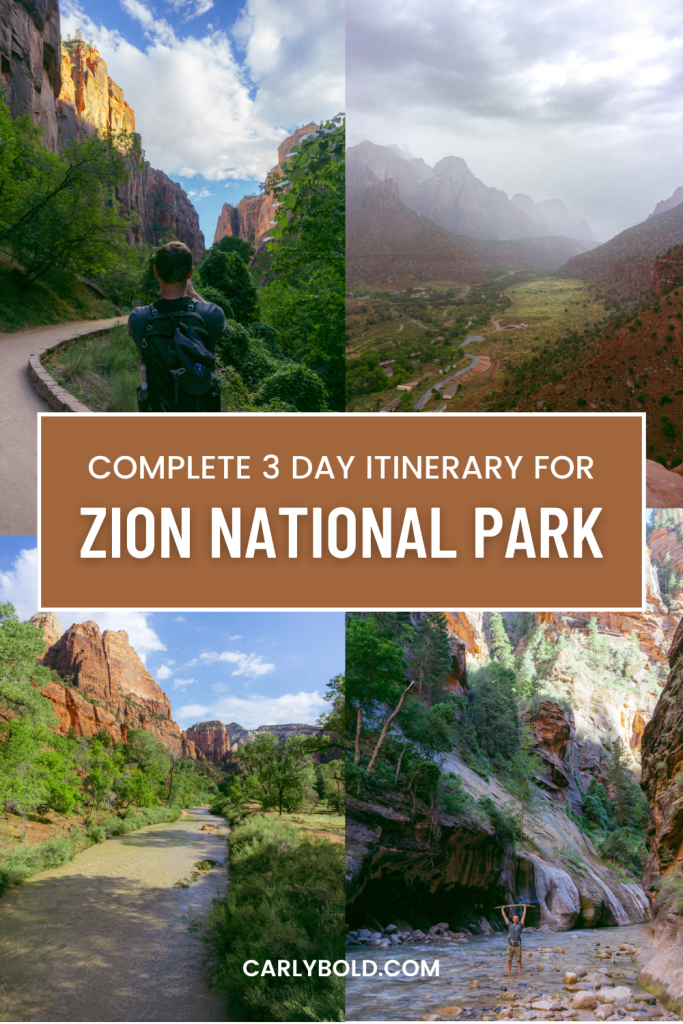
I have been to 17 of the 63 US National Parks. Out of all 17, the one I cannot stop thinking about is Zion. If you’re planning a trip to Zion, this Complete 3 Day Itinerary will help you hit all the key spots. This guide will also provide information on where to stay, give you tips on how to get around, and give you the lo-down on what you’ll need to pack. And most importantly, it will help you have the trip of a lifetime.
How to Get There
Depending on where you’re coming from, how you get into the park may vary. If you need to fly in, I highly recommend flying into Las Vegas and renting a car from there. This gives you the option to drive straight from Las Vegas to Zion (2.5 hour drive) or take the scenic route taking a pit stop first at the Grand Canyon.
Other Nearby Airports:
- St. George Regional Airport – the closest airport to Zion National Park (1 hour drive)
- Salt Lake City International Airport – major international airport option, alternative to Vegas (4 hour drive)
Where to Stay
While there are limited accommodations within the park, I would definitely recommend trying to stay right in Zion. Staying in the park makes it incredibly easy to access and hop on the Zion Shuttle to enjoy any of the trails and adventures.
Camping
There are 3 campgrounds in Zion; Watchman, South, and Lava Point. Unfortunately, South Campground is closed for a long-term rehabilitation project which makes Watchman the main and best campground to stay at.
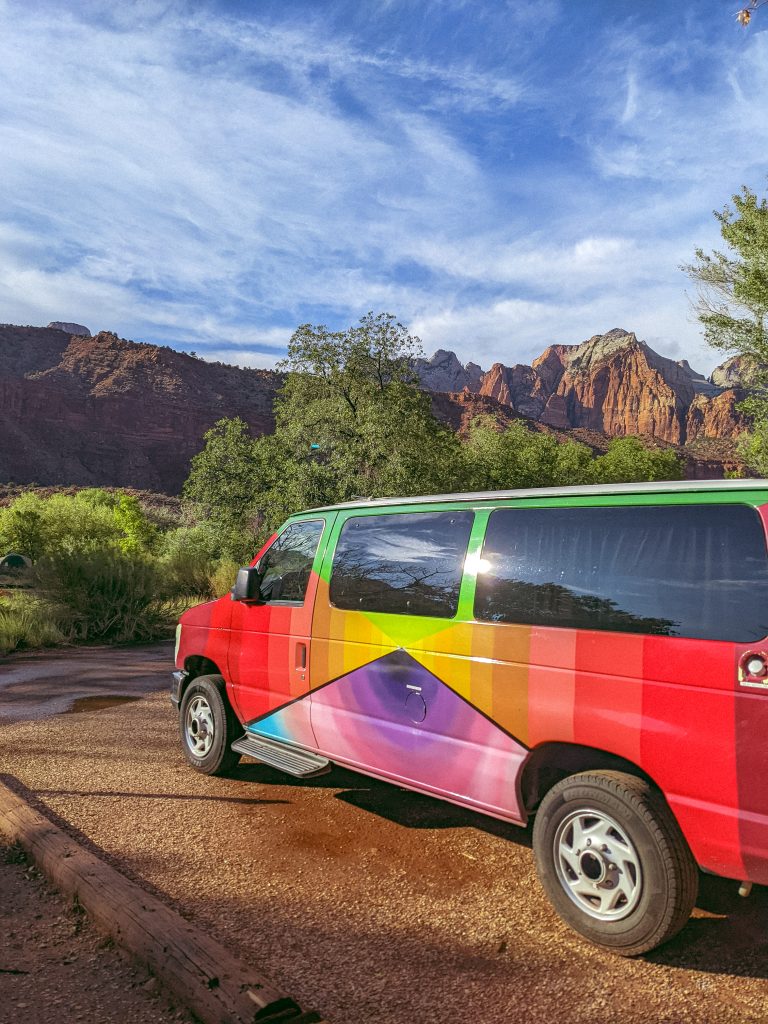
Watchman Campground is located right next to the Zion Visitor Center and is a short walk to the main shuttle pick-up spot. There are tent and electric campsites and the campground is open year-round, accepting reservations 6 months in advance. We stayed at Watchman Campground and it would be where I would stay if I went back to Zion again.
Hotels
If you’re not the most fond of camping, there are a few nearby (and one in-park) accommodation options as well.
- Zion Lodge – Zion Lodge is the only in-park accommodation aside from camping. Even if you don’t stay here, I recommend checking it out while in the park. The lodge is historic and beautiful and would definitely make for a great spot to rest up after a day of adventuring.
- Springdale – Springdale is right outside the gates of Zion National Park. There are several accommodation options in Springdale and the town itself has a ton of character. There is also a free shuttle service that will take you from Springdale to Zion, meaning you will not have to worry about parking.
What to Pack
Aside from everything you need for camping, and all your Day Hiking Essentials these are a few additional things I recommend bringing to Zion.
- Water Shoes: One of the most popular hikes (which I’ll highlight below) is The Narrows. Because of the slippery rocks, I recommend packing closed toe, or covered-toe water shoes. If you don’t want to buy a pair just for this trip you can rent some from Zion Outfitters located right next to the Visitor Center.
- Drybag: If you’re planning on hiking The Narrows and want the stuff in your pack to stay dry, I suggest bringing along a dry bag or getting a waterproof backpack.
- Wide-Rim Hat: While any hat will be better than nothing, I recommend bringing a wide- brim hat that will provide full coverage from the sun. You’ll look exceptionally cute too.
- Rain Jacket: Though this should be included in your day hiking essentials, I’m mentioning it again here for importance. The weather varies a TON in Zion and even in September we were met with a lot of Rain.
Getting Around (The Zion Shuttle)
Zion is my favorite park simply because it is so easy to get around. The free Zion Shuttle makes it incredibly easy to access all of the best spots, without the stress of trying to find parking.
If you’re camping or lodging in Zion, there are shuttle stops at both the Visitor Center (a 6 min walk to Watchman Campground) and The Lodge. There is also a Springdale line that stops at 9 places throughout the town and will take you into Zion Village. And all of it is free!
The Itinerary
I truly believe there is not a bad way to spend your time in Zion. As long as you’re out enjoying the park doing SOMETHING, you will experience some incredible things. This 3 day itinerary is based on my own experience in Zion and what I enjoyed most about the park.
Note: Weather can change drastically and quickly in Zion. Some trails will be closed or inaccessible due to changes in the weather. It's important to have a flexible schedule and be willing to change course if needed.
Day 1
This is your day to take it easy! You’ve probably had a pretty long day of travel, but still want to explore the park a bit. After setting up camp, or checking into your accommodation, I’d recommend heading out to do one of the shorter trails.
Some moderate and shorter trail options to do on day 1:
- Watchman Trail – 5 km (3.1 mi)
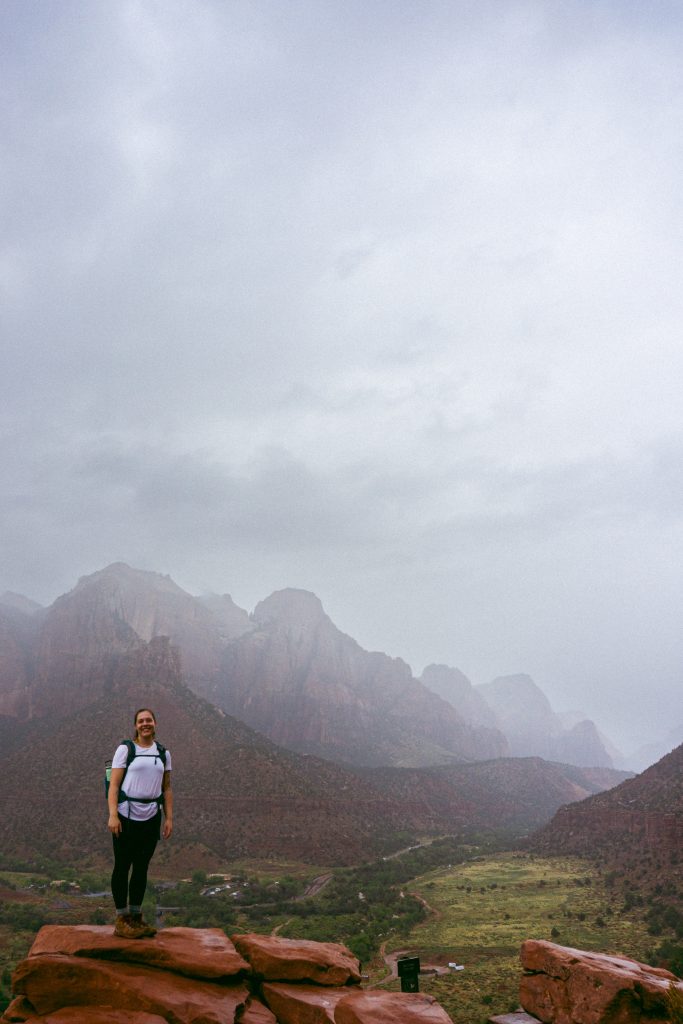
- The Watchman Trail is located near The Visitors Center. If you’re camping at Watchman Campground, you’d be able to walk right to the trailhead from camp. It’s a moderate out-and-back trail with stunning views of the valley and The Watchman.
- Pa’rus Trail – 5.6 km (3.5 mi)
- The Pa’rus Trail is an easy stroll easily accessed from the Visitor Center. Along with being wheelchair accessible, It’s also the only trail in the park that allows dogs on leash as well as bicycles.
- Emerald Pools (Upper, Middle, Lower) – 4.8km (3 miles)
- The Emerald Pools trail will take you past 3 pools, behind a waterfall, and then at the foot of another waterfall. While the pools are cool, my favorite part of the trail was the stunning views of the Virgin River and the towering red rocks above.
After getting the bones moving, finish the day off with some food at camp or in Springdale before you call it a night. Rest up because you’ve got a big day ahead of you!
Day 2
Day 2 is officially your first full day in Zion and it’s time to make the most of it. I suggest starting the day early to beat the heat and early afternoon trail crowds.
Here are my suggestions for trail adventures Day 2 in Zion:
- The Narrows – 15.1 km (9.4 mi)
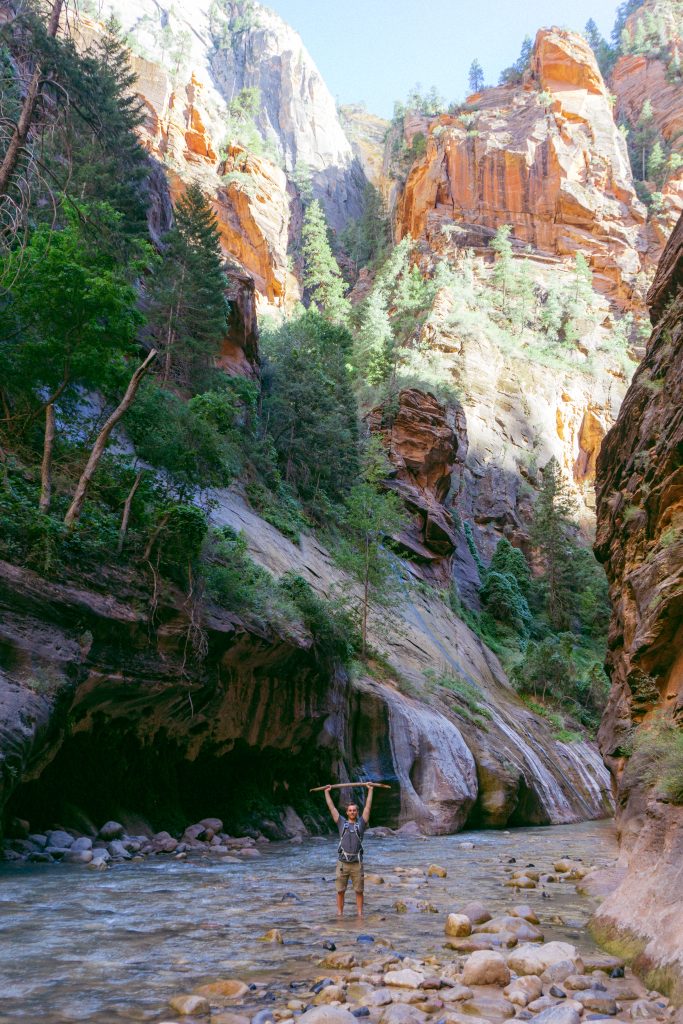
- Possibly the most popular hike in Zion, though it’s actually more of a wade. You’ll start off at the Riverside walk and hop into the Virgin River which is where this trail begins. The best thing about The Narrows is you can choose to do as much, or as little, as you wish and you’ll still be able to experience the beauty and magic of it. You can hike up to Big Spring without a permit, which makes it a 15.1 km round trip.
- Canyon Overlook Trail – 1.4 km (0.8 mi)
- Depending on how much time, and energy, you have after hiking The Narrows, you might want to get in another trail that day. The Canyon Overlook Trail is a short, easy route with big view rewards.
After all that walking, treat yourself to your beverage of choice and some good grub at The Zion Brewpub or any of the many restaurants in Springdale.
Day 3
Your third and final day in Zion.
Most people will try to fit Angel’s Landing into their trip. However, I think you can see all the beauty of Zion without needing to bother with the permit system. These trails will give you stunning views of Zion valley and don’t require a permit. They also will be considerably less crowded
- Scout Lookout via West Rim Trail – 6.2 km (4.2 mi)
- Though short, the Scout Lookout via West Rim Trail is a challenging route. With a steep incline and long drop-offs, this trail will get your heart pumping. If you’re up for the challenge though, it’s definitely worth the views!
- West Rim (past Scout Lookout) – 14.5 km (9 mi)
- If you feel up to it, you can carry on the West Rim Trail, past Scout Lookout, for more stunning views and even fewer crowds. Though a challenging trek, the views you’ll see are worth the sweat and sore legs.
If you have time, stop off at the Zion Lodge to grab some souvenirs before hopping on the shuttle back.
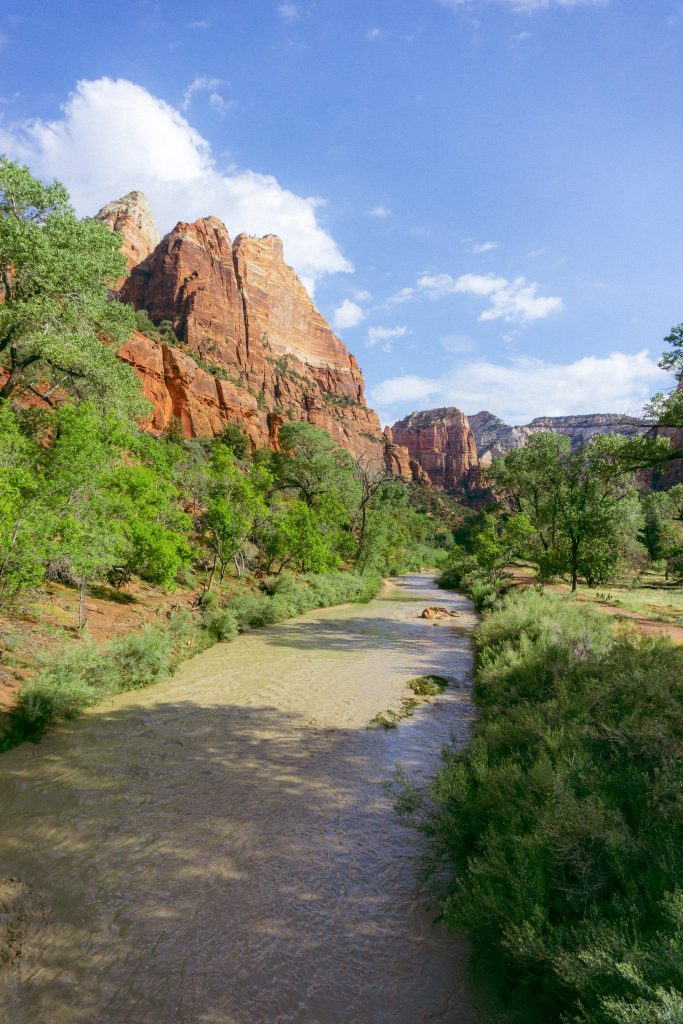
I hope this gives you some inspiration, and ideas, for your trip to Zion. Despite experiencing thunderstorms, torrential downpours and trail closures while there, we absolutely loved this park. I truly believe that no matter the weather, you will find some fun and magical adventures in Zion. I can’t wait for you to experience them!
